
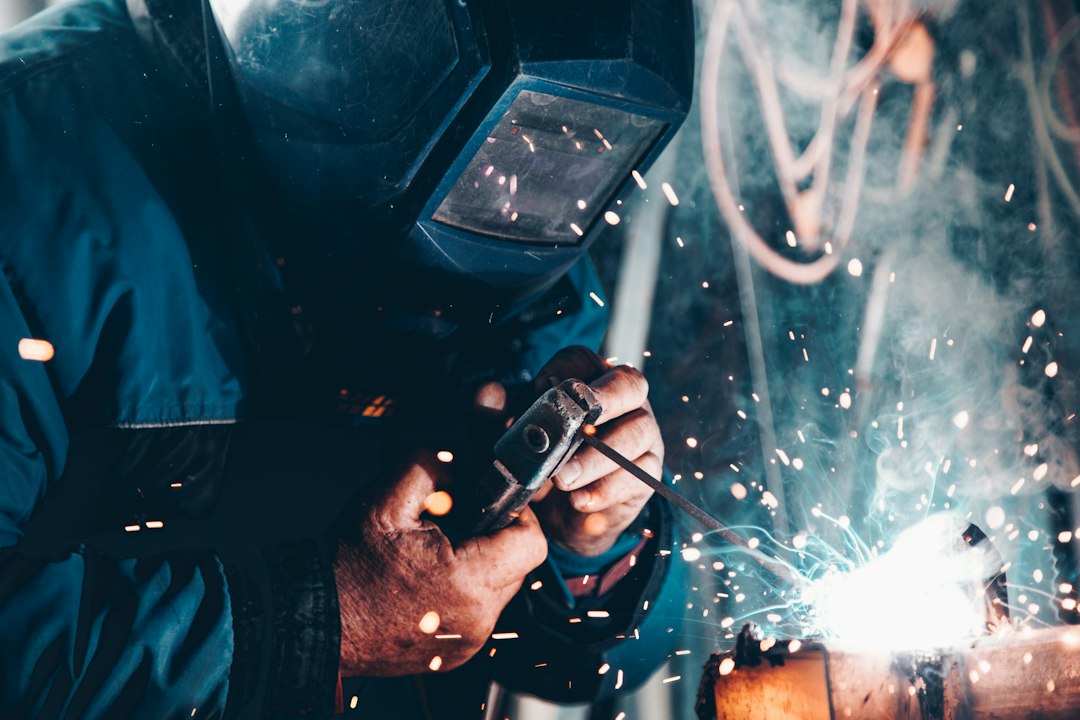
A go kart welding kit is the set of tools you need to join steel tubing into a frame: a welder, protective gear, clamps, and a few cutting and grinding tools. Most first-time builders underestimate how much of the job is preparation and fixturing rather than the welding itself. This guide explains which welding process suits kart frames, what a practical starter kit should contain, typical costs in USD, how to set up a safe workspace, and how to practice before you weld anything you will sit in. It is written for DIY builders, not production shops, and assumes you are welding mild steel or chromoly tube.
Part of our Build a Go-Kart guide — explore the full guide →
What Is a Go Kart Welding Kit?
There is no single product called a go kart welding kit. The phrase describes the combination of equipment a home builder gathers to fabricate a chassis, roll cage, engine mount, or bracket. At minimum that means a welding machine, a helmet, gloves, a jacket, a way to cut tube, a way to clean and shape joints, and clamps or a jig to hold parts in place while you tack them.
Some retailers sell bundles that include a small MIG or flux-core machine, a basic auto-darkening helmet, gloves, and a spool of wire. Those bundles can be a sensible starting point, but they rarely include the fixturing and cutting tools that make kart frames come out square. Plan on assembling the rest yourself.
If you have not yet decided on a design, read our complete guide to building a go-kart first. The frame you choose determines the tubing size, which in turn decides how much welder you need.
Types of Welding for Kart Frames
Flux-core (FCAW). Flux-core machines feed a tubular wire with flux inside, so they need no gas bottle. They run on a standard household outlet, work outdoors in a breeze, and are the cheapest way in. The trade-offs are more spatter, slag to chip off, and a rougher bead. For mild steel yard karts with thicker wall tube, flux-core is workable.
MIG (GMAW). MIG uses solid wire and a shielding gas, usually a 75/25 argon and CO2 mix for steel. It produces cleaner welds with less cleanup and is easier to control on thin-wall tube. Many entry machines can run both flux-core and MIG, which makes them the most common choice for home kart builders.
TIG (GTAW). TIG gives the most control and the cleanest welds, and it is the usual choice for thin-wall chromoly racing frames. It is also slower, harder to learn, and the machines cost more. Most hobbyists do not need TIG for a recreational kart.
Stick (SMAW). Stick welding is cheap and tolerant of dirty metal, but it is difficult on thin tubing and tends to blow holes. It is better suited to heavy brackets than to a full kart frame.
Best Go-Kart Kits, Frames & Engines: our top 3 picks
| Product | Best for | Key features | Price | Buy |
|---|---|---|---|---|
| Azusa Frame w/ Steering Hoop | Best go-kart frame |
| $612.69as of Nov 17, 2026 2:25 pm EST | Buy now →Check current price |
| YC Yier 29 in Live Axle Kit | Best kit to complete a frame |
| $465.99as of Nov 17, 2026 2:25 pm EST | Buy now →Check current price |
| TDPRO 32 in Rear Axle Kit | Best rear axle with kart tires |
| $764.99as of Nov 17, 2026 2:25 pm EST | Buy now →Check current price |


Prices are Amazon’s listed prices as of the date and time shown and are subject to change; the price on Amazon at the time of purchase applies. As an Amazon Associate we earn from qualifying purchases.
See every pick compared: Best Go-Kart Kits, Frames & Engines →
Welding Processes Compared
| Process | Gas Needed | Learning Curve | Best On | Typical Machine Cost |
|---|---|---|---|---|
| Flux-core | No | Easy | Mild steel, thicker wall | $150–$400 |
| MIG | Yes (argon/CO2) | Moderate | Mild steel tube, brackets | $350–$1,200 |
| TIG | Yes (pure argon) | Hard | Thin-wall chromoly, fine work | $600–$2,500+ |
| Stick | No | Moderate | Heavy plate and brackets | $100–$400 |
For most first builds, a dual-process MIG/flux-core machine on a 120V or dual-voltage input covers everything from the frame rails to the engine plate. Check the machine’s rated output against the wall thickness you plan to weld; the manufacturer’s chart is the reference, not the box headline.
What a Starter Go Kart Welding Kit Should Include
Welder. A MIG/flux-core machine with adjustable voltage and wire speed. Infinite adjustment is easier to dial in than a few fixed taps.
Helmet. An auto-darkening helmet with adjustable shade and sensitivity. A larger viewing area helps when you are welding around tube.
Gloves and jacket. Leather MIG gloves and a flame-resistant jacket or leather sleeves. Synthetic clothing can melt onto skin, so wear cotton or wool underneath.
Cutting tools. An angle grinder with cut-off discs is the minimum. A metal-cutting chop saw or a horizontal band saw gives far squarer cuts, which matters for fit-up.
Tube notcher. A hole-saw style notcher lets you cope the end of one tube to fit snugly against another. Good fit-up is the single biggest factor in strong, clean joints.
Grinder and flap discs. For removing mill scale and paint before welding and dressing joints after.
Clamps and magnets. Locking C-clamps, bar clamps, and welding magnets hold parts while you tack.
Measuring tools. A tape, a combination square, a level, and a marker or soapstone.
Fire safety. A dry chemical extinguisher within reach, and a clear floor free of rags, fuel, and sawdust.
Cost of a Go-Kart Welding Setup
A basic flux-core setup with a helmet, gloves, and an angle grinder can come together for roughly $300 to $500. A more capable MIG kit with a gas bottle, regulator, chop saw, and notcher usually lands in the $900 to $1,800 range. A TIG-based setup for chromoly work typically starts above $1,500 once you add the machine, gas, and tungsten supplies.
Gas bottles are often bought or leased from a local welding supplier, and refill costs vary by region. Consumables such as wire, contact tips, nozzles, and grinding discs add a steady running cost. Compare this outlay with buying a pre-welded frame; our guide to what it costs to build a go-kart shows where welding equipment fits in a full build budget.
How to Choose a Welder for Kart Work
Match the machine to the tube. Most yard kart frames use around 1-inch mild steel tube with a wall thickness in the range of roughly 0.065 to 0.120 inch. Thinner wall needs fine control; thicker wall needs enough amperage for full penetration.
Check your power supply. A 120V machine is convenient but limited. A dual-voltage machine can run on 240V for thicker material if your garage has the outlet.
Look at duty cycle. Duty cycle tells you how long the machine can weld in a ten-minute period at a given output before it needs to cool. Kart frames involve many short welds, so a modest duty cycle is usually fine.
Plan for the material. If you ever expect to weld chromoly, research the filler and process requirements first. Chromoly behaves differently from mild steel and many builders choose TIG for it.
Buy fixturing early. A flat, sturdy welding table or a sheet of steel on stands makes it far easier to keep a frame square. Many builders spend as much effort on the jig as on the welding.
Setting Up a Safe Workspace
Weld in a ventilated space and keep fumes away from your breathing zone. Galvanized and painted metal produce harmful fumes, so strip coatings back to bare metal before welding. Keep flammable materials well away, including fuel cans and the kart’s fuel tank if you are repairing an existing frame.
Protect other people and pets from arc flash with a welding curtain or by working when the area is clear. After you finish, watch the area for smoldering material for a while before leaving. Read the safety section of your welder’s manual before the first use.
Practice Before You Weld a Frame
Buy extra tube of the same size and wall thickness as your frame and practice on offcuts. Weld T-joints and butt joints, then cut them apart or break them in a vise to see whether the weld fused into both pieces. A weld that looks neat but sits on top of the metal is not a strong weld.
Tack the whole frame together before fully welding any joint. Check diagonals and levels, adjust, and only then complete the welds in a pattern that spreads heat around the frame to limit distortion. If you are working from a drawing, our guide to go-kart frame plans explains how to read dimensions and build a simple jig.
If your first welds are inconsistent, consider having a certified welder finish or inspect critical joints such as steering mounts and seat mounts. A frame carries a person at speed, so structural quality matters more than appearance.
Pros and Cons of Welding Your Own Frame
Owning a welding kit opens up custom builds and repairs, but it is a real investment of time and money.
Pros
- Build a custom frame to your exact size and layout
- Repair cracked mounts and brackets at home
- Equipment is reusable for future projects
- Learning to weld adds a valuable workshop skill
Cons
- Upfront cost can exceed the price of a basic frame kit
- Weld quality takes practice to become reliable
- Fumes, heat and arc flash need proper precautions
- Thin chromoly tube is hard to weld well without TIG
Frequently Asked Questions
Can I build a go-kart frame with a flux-core welder?
Is MIG or TIG better for a go-kart frame?
What size welder do I need for go-kart tubing?
Do I need a tube notcher?
How much does a basic welding setup cost?
Can I weld chromoly with the same machine?
Final Thoughts
A good go kart welding kit is more than a welder. Square cuts, tight fit-up, a flat jig, and safe ventilation do as much for frame quality as the machine itself. Start with a dual-process MIG unit, practice on offcuts, and tack the whole frame before committing. If welding a full chassis feels like too much, a pre-built frame is a valid route; compare options in our roundup of go-kart kits and frames, and see the steel tubing guide for choosing material.