
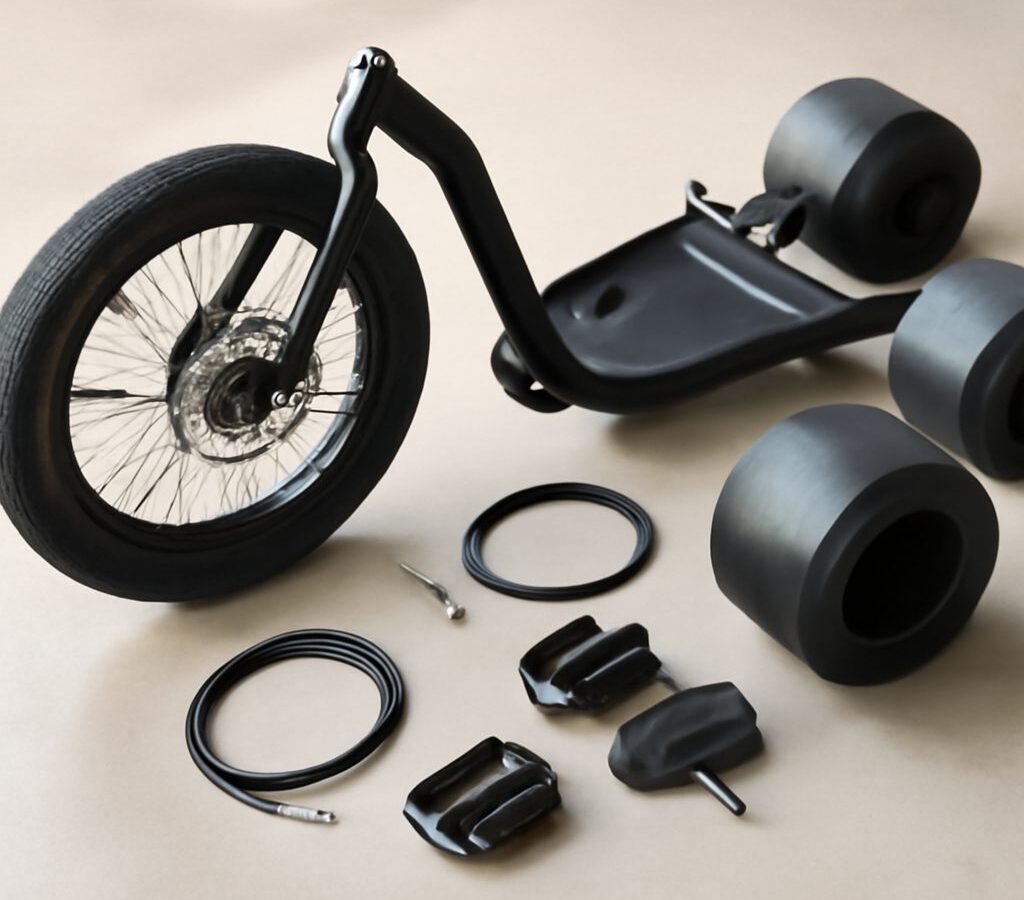
A drift trike kit is a package of matched parts that gets you most of the way to a finished sliding trike without designing the machine yourself. The word kit covers very different products, though. A rear-axle conversion kit adds an axle, hubs, and slider wheels to a donor bike front end. A frame kit ships cut tubing and brackets that you weld into a full chassis. A motor kit adds an engine or electric drive to a trike that is built to take one. This guide explains what each drift trike kit includes, how hard the build really is, typical costs, the tools you need, and how to choose the kit that matches your skills and goals.
Part of our Drift Karts & Drift Trikes guide — explore the full guide →
What Is a Drift Trike Kit?
A drift trike has one grippy front wheel that steers and two low-grip rear wheels wrapped in hard plastic sleeves. The hard part of building one is not the front end, which can come from a bicycle, but the rear: a solid axle, bearings, hubs, sleeves, and mounts that hold everything square. A kit bundles those hard-to-source parts so they fit together.
Some kits assume you bring a donor bike. Others give you the entire frame in pieces. Some are bolt-together and need only hand tools; others need a welder. Knowing which type you are looking at is most of the decision. For an overview of the machine itself, see our drift trike guide.
Types of Drift Trike Kits
Rear-axle conversion kits. These supply the back half of the trike: a solid rear axle, bearing hangers or a mounting plate, rear hubs, and often the slider wheels. You attach the assembly to a donor bike front end, usually a BMX or cruiser, by welding or with clamps depending on the design. This is the cheapest way into the hobby and a good way to reuse an old bike.
Weld-together frame kits. These ship pre-cut and sometimes pre-bent or pre-notched tubing, plus brackets, axle mounts, and sometimes a seat pan. You weld them into a complete chassis. The advantage is designed geometry: wheelbase, seat height, and head tube angle are set for you. You supply the welding and usually the wheels and seat.
Bolt-together frame kits. Less common, these use bolted joints instead of welds. They need fewer tools, but check the maker’s rider weight rating and whether the design suits gravity or motorized use.
Motor kits. Gas kits typically include an engine mount, a clutch or torque converter, a chain, a rear sprocket, and a throttle. Electric kits typically include a motor, controller, battery or battery tray, and throttle. Either type needs a trike with a driven rear axle and a frame strong enough for the added loads. Our motorized drift trike guide covers drivetrains in depth.
Sleeve and wheel kits. Not a build kit, but often sold alongside: pairs of rear wheels and sleeves sized to a specific axle.
Best Drift Trikes: our top 3 picks
| Product | Best for | Key features | Price | Buy |
|---|---|---|---|---|
| Huffy Electric Green Machine | Best overall electric for teens |
| — | Buy now →Check current price |
| Razor RipRider DXT | Best gravity trike for teens |
| $149.99as of Nov 17, 2026 2:18 pm EST | Buy now →Check current price |
| Kavirox 208cc Gas Drift Trike | Best gas trike for adults |
| $1,615.00as of Nov 17, 2026 2:18 pm EST | Buy now →Check current price |


Prices are Amazon’s listed prices as of the date and time shown and are subject to change; the price on Amazon at the time of purchase applies. As an Amazon Associate we earn from qualifying purchases.
Drift Trike Kit Types Compared
| Kit type | What is usually included | Typical cost (USD) | Difficulty | Best for |
|---|---|---|---|---|
| Rear-axle conversion | Axle, bearings, mounts, hubs, often sliders | $80 to $250 | Moderate; donor bike plus welding or clamps | Cheap first builds, reusing a bike |
| Weld-together frame kit | Cut tubing, brackets, axle mounts | $150 to $500 | High; welder and fabrication skills | Adult builds with proper geometry |
| Bolt-together frame kit | Pre-drilled tube and hardware | $200 to $600 | Low to moderate; hand tools | Builders without a welder |
| Gas motor kit | Mount, clutch, chain, sprocket, throttle | $150 to $400 plus engine | High; alignment and tuning | Adding power to a driven axle |
| Electric motor kit | Motor, controller, throttle, wiring | $200 to $700 plus battery | Moderate to high; wiring and mounting | Quiet powered builds |
Ranges are typical and vary widely with quality, shipping, and what is bundled. Read the parts list carefully: two kits at the same price can include very different amounts of hardware.
What a Drift Trike Kit Build Involves
Every build follows roughly the same steps, whatever the kit.
- Check the parts list. Lay everything out and confirm it matches the inventory before cutting or welding anything.
- Prepare the front end. For a conversion, cut the donor bike frame where the instructions specify. For a frame kit, tack the head tube and spine in a jig or on a flat table.
- Square the rear axle. Mount the axle hangers so the axle is level and exactly perpendicular to the frame centerline. This single step decides whether the trike slides evenly.
- Weld or bolt the structure. Tack first, check alignment again, then complete the welds or torque the bolts.
- Fit the seat, pegs, and brakes. Keep the seat low and secure. Confirm the front brake works if the design includes one.
- Install wheels and sleeves. Fit both rear sleeves identically so the trike slides symmetrically. See our drift trike wheels and tires guide for fitting tips.
- Finish and inspect. Paint or powder coat to prevent rust, then inspect every joint before the first ride.
A conversion kit can be a weekend project. A frame kit, with welding and finishing, often takes longer, especially for first-time builders.
Tools You Will Need
Tooling is the hidden cost of a kit. Plan for:
- Welder. A MIG welder is the usual choice for steel kits. You can also pay a local fabrication shop to weld a kit you have prepared.
- Angle grinder. For cutting, cleaning, and finishing welds.
- Clamps and a flat surface. To hold tubes in place while tacking. A simple jig improves accuracy.
- Measuring tools. A tape, square, and level to keep the axle true.
- Hand tools. Wrenches, sockets, and hex keys for hardware and bearings.
- Safety gear. A welding helmet, gloves, eye protection, and a fire extinguisher nearby.
If you need to buy a welder and grinder, the tool cost can exceed the kit itself. That is a strong reason to consider a bolt-together kit or a complete trike instead.
Total Cost of a Kit Build
A kit is rarely the whole budget. A typical pedal or gravity build adds a front wheel and fork, a seat, slider sleeves, paint, and hardware. With a free or cheap donor bike, a conversion build can come in at a few hundred dollars. A frame kit build with new wheels and a seat often lands somewhere around $400 to $900.
Motorized builds climb quickly: add the engine or electric drive, a battery for electric builds, a clutch or controller, a chain, and a brake suited to the extra speed. Factor in consumables too. Rear sleeves wear with every slide, so keep a spare set.
Compare the finished total against a complete trike before you commit. If the numbers are close and you do not enjoy fabrication, buying complete can be the better value. Our drift trikes for sale guide covers where to look and what to check.
How to Choose a Drift Trike Kit
Start with welding. Can you weld, or can someone weld for you? If yes, a frame kit opens up proper adult geometry. If no, look at bolt-together kits, clamp-on conversions, or a complete trike. Do not learn welding on a load-bearing chassis; the seat and axle mounts carry your weight at speed.
Size the kit to the rider. Kids builds want shorter frames and smaller wheels. Adult builds need stronger tubing, a longer wheelbase, and an axle rated for the weight. Check the kit maker’s rider weight rating.
Decide on power now. If you might add a motor later, choose a kit with a driven rear axle, provision for a sprocket, and an engine plate. Retrofitting power to a pedal-only axle often means buying a second axle.
Check the geometry. For frame kits, look for stated wheelbase, seat height, and front wheel size. Our drift trike frame guide explains how each affects the slide.
Check support. Good kits come with clear instructions, a parts list, and a maker who answers questions. That matters more than a small price difference.
Common Kit Build Mistakes
- An out-of-square rear axle. The trike slides more easily one way than the other. Measure from the head tube to each axle end before final welding.
- Weak donor bikes. Light or cracked bicycle frames are not built for sliding loads. Use a sturdy BMX-style front end.
- Mismatched sleeves. Different wear or material on each side makes the slide uneven.
- Poor chain alignment on motorized builds. It wears sprockets quickly and can throw the chain.
- Skipping brakes. Powered and gravity trikes need a reliable way to slow down.
Pros and Cons of a Drift Trike Kit
A kit saves sourcing time and guarantees matched parts, but it still takes real work and, for most frame kits, real tools.
Pros
- Often cheaper than a comparable complete trike
- Matched parts remove sourcing guesswork
- Conversion kits put an old bike to use
- Frame kits give proven adult geometry
- Motor-ready designs support future upgrades
Cons
- Most frame kits need a welder and real skill
- Tool costs can exceed the kit price
- Donor bike quality varies with conversion kits
- Total cost climbs once you add wheels and a motor
- Poor alignment causes uneven slides and chain wear
Frequently Asked Questions
What comes in a drift trike kit?
Do I need to weld a drift trike kit?
How much does a drift trike kit cost?
Can I turn a normal bike into a drift trike?
Can I add a motor to a drift trike kit later?
How long does it take to build a drift trike kit?
Final Thoughts
A drift trike kit is the middle path between buying a finished trike and fabricating everything from raw steel, as long as you match it to your skills. Decide on welding and power first, size the kit to the rider, measure the axle twice, and budget for wheels, sleeves, and tools. If the build starts to look more like a chore than a project, the best drift trikes roundup covers complete machines, and our drift kart guide covers four-wheel alternatives.