
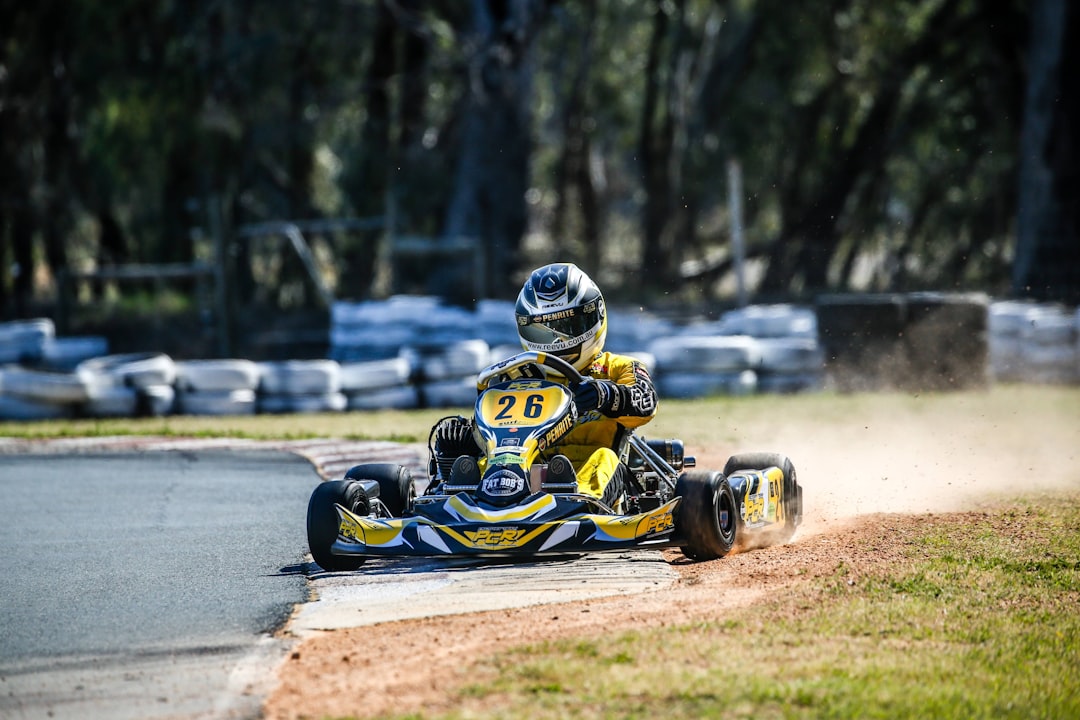
Go kart brakes are the single most safety-critical system on any kart, yet they are often the last thing a builder thinks about. A kart with a strong engine but weak, fading, or poorly bled brakes is dangerous, and no amount of speed matters if you cannot stop confidently. This guide explains how go kart brakes work, the main types you can fit, how to size and choose a system for your build, and the installation and maintenance steps that keep stopping power consistent. Whether you are finishing a scratch build or upgrading a used chassis, treat this system as the one you never compromise on.
What Are Go-Kart Brakes?
Go-kart brakes are the system that slows and stops the kart by clamping a disc — or, on simple karts, a band or drum — to convert the kart’s motion into heat. Most performance karts use a disc brake on the rear axle, operated by a pedal that pushes fluid or a cable to a caliper. When you press the pedal, the caliper squeezes brake pads against a spinning disc, and friction brings the kart to a stop.
Because a kart is light and has no engine braking on a freewheeling clutch, the brake does almost all of the stopping work. That is why even a modest kart benefits from a properly sized, well-maintained brake system with fresh fluid and good pads. On faster karts, front brakes may be added for extra stopping force and balance.
Types of Go-Kart Brakes
Several brake designs exist, each suited to a different speed, budget, and complexity level.
- Mechanical (cable) disc brakes — a cable pulls the caliper; simple, cheap, and easy to service, common on recreational and kids’ karts.
- Hydraulic disc brakes — a master cylinder pushes fluid to the caliper for far more power and feel; the standard on sprint and racing karts.
- Band brakes — a steel band wraps a drum on the axle; found on very basic or vintage karts, with limited power and poor fade resistance.
- Front + rear (four-wheel) systems — hydraulic setups adding front calipers for shorter stops on high-speed karts.
For most builds beyond a low-speed kids’ kart, a hydraulic rear disc is the right starting point. If you are following our how to build a go-kart guide, budget for a quality caliper and master cylinder rather than the cheapest option.
Go Kart Brakes Types Compared
| Type | Stopping Power | Fade Resistance | Best For | Relative Cost |
|---|---|---|---|---|
| Mechanical disc | Moderate | Fair | Recreational & kids’ karts | $ |
| Hydraulic rear disc | Strong | Good | Sprint & performance karts | $$ |
| Band brake | Weak | Poor | Basic/vintage karts only | $ |
| Front + rear hydraulic | Very strong | Excellent | High-speed & shifter karts | $$$ |
How to Choose and Size Your Brakes
Match brake capacity to your kart’s top speed and weight. A kids’ kart running 15–20 mph is well served by a simple mechanical disc, but an adult kart approaching 40–60 mph needs a hydraulic system with a disc large enough to shed heat without fading. Undersized brakes overheat, lose feel, and can fail during repeated hard stops.
Pick a disc diameter and material suited to the load — larger, vented, or floating discs handle heat better on faster karts. Choose pad compound to match: organic pads bite well when cool for recreational use, while sintered or racing compounds resist high-temperature fade. Make sure the master cylinder bore and caliper piston area are matched so pedal effort and travel feel right.
Confirm that the brake disc fits your rear go-kart axle and that the caliper mounts cleanly to your go-kart frame. If you buy a complete go-kart kit, the brake system is usually matched to the chassis and speed for you.
Installation and Maintenance Basics
Mount the caliper rigidly and align it so the pads sit square on the disc with even clearance on both sides. For hydraulic systems, use the correct brake fluid, and bleed the lines completely so no air remains — trapped air is the most common cause of a soft, unreliable pedal.
- Bleed hydraulic brakes until the pedal is firm and the fluid runs clear with no bubbles.
- Set pad-to-disc clearance per the caliper spec; too tight drags, too loose adds dead pedal travel.
- Use thread-locker and correct torque on all caliper and disc fasteners, and check them before every session.
- Inspect pads for wear and replace them well before the friction material runs out.
- Keep the disc free of oil and grease; even a little contamination badly reduces stopping power.
Coordinate the brake pedal placement with the throttle and your go-kart steering column so your feet and hands work naturally without interference.
Pros and Cons
Pros
- Hydraulic
Cons
- Hydraulic
Frequently Asked Questions
How
Do
Why
Mechanical
How
Why
Can
Final Thoughts
Go kart brakes are never the place to save money or skip a step. A correctly sized hydraulic disc, bled properly and maintained with fresh pads and fluid, gives the consistent, confident stopping that makes every other performance upgrade safe to use. Inspect the system before each session, keep the disc clean, and replace worn parts early. When you are ready to spec the rest of your kart, explore the best go-kart kits and frames and read our complete beginner’s guide to karting.