
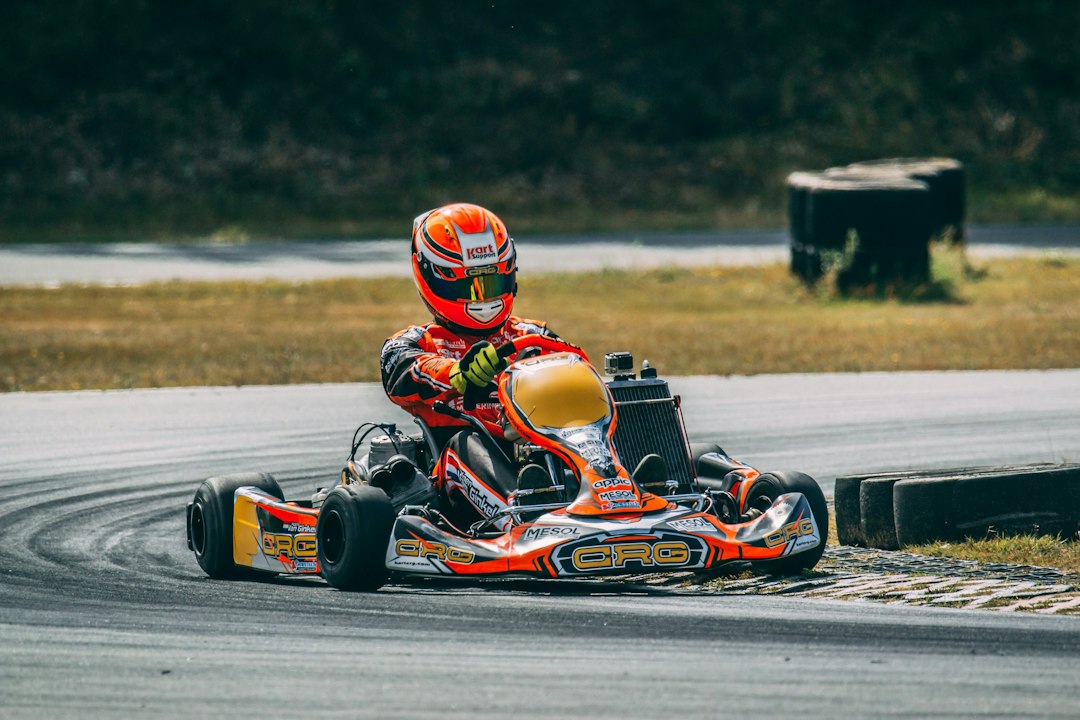
Go kart brake bleeding is the job of pushing trapped air out of a hydraulic brake system so the pedal feels firm and the brakes bite consistently. Air bubbles compress when you press the pedal, while brake fluid does not, so even a small bubble makes the pedal spongy and the stopping distance longer. Bleeding is needed after installing a new hydraulic kit, replacing a line or caliper, changing fluid, or whenever the pedal starts to feel soft. This guide explains why karts need bleeding, the main methods, the tools and fluid you need, a step-by-step procedure, common mistakes, and how often to do it.
Part of our Go-Kart Maintenance & Repair guide — explore the full guide →
Why Go Kart Brake Bleeding Matters
A hydraulic brake works by transmitting pedal force through incompressible fluid from the master cylinder to the caliper pistons. Air in the system compresses before the pistons move, so part of your pedal travel is wasted squeezing bubbles. The result is a soft, long pedal and weaker braking.
Air gets in during installation, when the reservoir runs low, through worn seals, or when fluid boils under heavy use. Brake fluid also absorbs moisture over time, which lowers its boiling point and can lead to vapor bubbles after hard braking. Regular bleeding and fluid changes keep the system working as designed.
For an overview of how kart brake systems work, see our go-kart brake system guide.
Brake Fluid: Use the Right Type
Always use the fluid specified by the brake manufacturer, usually printed on the master cylinder cap or in the manual. Many kart systems use glycol-based fluids such as DOT 4 or DOT 5.1, while some use mineral oil. DOT 5 is silicone-based and is a different fluid altogether.
Never mix incompatible fluid types. Mixing glycol and silicone fluids, or using mineral oil in a system designed for DOT fluid, can damage seals and cause brake failure. If you are unsure what is in the system, check with the manufacturer before topping up.
Glycol-based fluid damages paint and plastic, so wipe spills immediately. Use fresh fluid from a sealed container, since opened bottles absorb moisture.
Best Go Kart Brake Kit: our top 3 picks
| Product | Best for | Key features | Price | Buy |
|---|---|---|---|---|
| VEVOR Hydraulic Brake Kit | Best overall hydraulic kit |
| $114.90as of Oct 25, 2026 4:19 am EDT | Buy now →Check current price |
| GREHUA Mechanical Disc Kit | Best mechanical disc kit |
| $36.99as of Oct 25, 2026 4:19 am EDT | Buy now →Check current price |
| KOONDHEEND KT196 Kit | Best for Coleman KT196 |
| $47.99as of Oct 25, 2026 4:19 am EDT | Buy now →Check current price |


Prices are Amazon’s listed prices as of the date and time shown and are subject to change; the price on Amazon at the time of purchase applies. As an Amazon Associate we earn from qualifying purchases.
Methods of Bleeding Kart Brakes
Pump and hold. One person pumps and holds the pedal while another opens and closes the bleed screw. Simple and effective, and it needs no special tools.
Gravity bleeding. Open the bleed screw and let fluid flow down by gravity, keeping the reservoir topped up. Slow but gentle, and works for one person on simple systems.
Vacuum bleeding. A hand or air-powered vacuum pump draws fluid through the bleed screw. Fast and one-person friendly, but air can be drawn past the bleed screw threads, making it look like bubbles remain.
Reverse or syringe bleeding. Fluid is pushed from the caliper bleed screw up toward the master cylinder with a syringe. Because air naturally rises, this can be very effective on kart calipers, and many kart brake makers recommend a syringe method.
Bleeding Methods Compared
| Method | People Needed | Tools | Speed | Best For |
|---|---|---|---|---|
| Pump and hold | Two | Wrench, tube, catch bottle | Moderate | Most systems, routine bleeds |
| Gravity | One | Wrench, tube, catch bottle | Slow | Simple systems with time to spare |
| Vacuum | One | Vacuum bleeder | Fast | Fluid changes |
| Reverse or syringe | One | Syringe, tube | Fast | New installs and stubborn air |
Tools and Supplies
You need the correct brake fluid, a wrench that fits the bleed screw (often a small box-end wrench), clear plastic tubing that fits snugly over the bleed nipple, a catch bottle, and clean rags. A syringe or vacuum bleeder is useful depending on the method. Gloves and eye protection are wise, since brake fluid irritates skin and eyes.
Brake bleeding kits with syringes and adapters cost roughly $15 to $60. A vacuum bleeder typically costs $30 to $100.
Step-by-Step: Pump and Hold Method
1. Prepare the kart. Park on a level surface. Clean around the master cylinder cap and bleed screw so dirt cannot enter the system.
2. Fill the reservoir. Remove the cap and top up with the correct fluid. Keep it topped up throughout; if it runs dry, you will pull air into the system and need to start again.
3. Attach the tube. Fit clear tubing over the bleed screw and run it into a catch bottle with a little fluid in the bottom, so the tube end stays submerged.
4. Pump and hold. Have a helper pump the pedal several times, then hold it down firmly.
5. Open and close. Open the bleed screw a quarter turn. Fluid and air will flow into the tube and the pedal will drop. Close the screw before the helper releases the pedal.
6. Repeat. Repeat until the fluid in the tube runs clear with no bubbles. Check the reservoir level every few cycles.
7. Bleed each caliper. On karts with front and rear brakes, start with the caliper farthest from the master cylinder, then work closer. Some calipers have two bleed screws; bleed both.
8. Finish. Tighten the bleed screw snugly without overtightening, top up the reservoir to the correct level, refit the cap, and check the pedal feel.
Common Mistakes
Letting the reservoir run dry. This pulls air back in and undoes your work.
Releasing the pedal with the bleed screw open. This sucks air back into the caliper.
Using the wrong fluid. Incompatible fluids damage seals.
Overtightening bleed screws. They are small and can snap or strip. Snug is enough.
Ignoring caliper orientation. The bleed screw should be at the top of the caliper so air can rise to it. If the caliper can be mounted either way, check that the bleed screw is uppermost.
Troubleshooting a Spongy Pedal
If the pedal is still soft after bleeding, air may be trapped high in the master cylinder or a line loop. Try tapping the caliper and lines gently while bleeding, or use the syringe method to push air upward. Check for leaks at fittings, the caliper, and the master cylinder. Worn master cylinder seals can also cause a sinking pedal. Our guide to the hydraulic brake master cylinder explains how to diagnose seal problems.
Also check the pads and disc. Glazed pads, contaminated discs, or a warped rotor reduce braking even when the hydraulics are perfect. See our guide to go-kart brake pads for inspection tips.
How Often to Bleed Go-Kart Brakes
Bleed whenever the pedal feels soft, after replacing any hydraulic part, and after opening the system. Many racers bleed before every race weekend or at least every few events, since hard braking heats the fluid. Recreational karts may need bleeding and fluid changes less often, but replacing fluid at least once a season is a sensible habit. Follow the brake manufacturer’s recommendation where one exists.
Safety Notes
Never drive a kart with a spongy or sinking brake pedal. After bleeding, test the brakes at walking speed before driving normally. Dispose of old brake fluid according to local rules, and keep it away from children and pets. If you are not confident in the result, have an experienced mechanic check the system.
Pros and Cons
Bleeding your own brakes saves money and keeps you in control of a critical system.
Pros
- Restores a firm, consistent pedal
- Inexpensive tools and supplies
- Quick once you know the procedure
- Lets you check the whole brake system
Cons
- Easy to introduce air if rushed
- Wrong fluid can damage seals
- Brake fluid damages paint and skin
- Some methods need a helper
Frequently Asked Questions
How do I know if my go-kart brakes need bleeding?
What brake fluid does a go-kart use?
Can I bleed go-kart brakes by myself?
Why is my brake pedal still soft after bleeding?
How often should I bleed kart brakes?
Do mechanical kart brakes need bleeding?
Final Thoughts
Go kart brake bleeding is a simple job that makes a big difference to safety and confidence. Use the right fluid, keep the reservoir topped up, bleed from the top of the caliper, and test carefully before driving. If you are upgrading your system, our guide to hydraulic brake kits covers what to look for.