
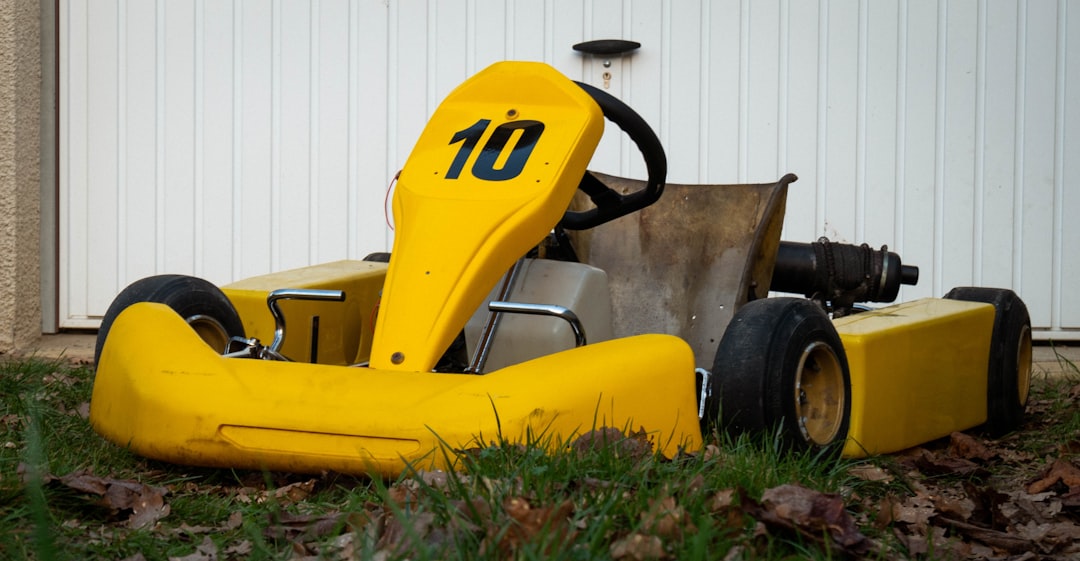
Building a homemade electric go kart is one of the most satisfying garage projects going: no carburetor tuning, no exhaust noise complaints, and instant torque from the first inch of throttle. It is also more approachable than most builders expect. The mechanical side is a standard kart chassis; the new territory is choosing a motor, sizing a battery pack, and wiring a controller safely. This guide covers the whole scratch-build path — motor and battery options, wiring basics, realistic costs from $400 to $1,500, and the fusing and BMS safety rules that keep a fun project from becoming a fire risk.
The motor makes or breaks a home build, so start with our roundup of the best electric motors for go-karts before you buy anything else.
How a Homemade Electric Go Kart Works
Every electric kart is the same four-part system: a battery pack stores energy, a controller meters it, a motor turns it into rotation, and a chain or belt carries that rotation to the rear axle. A throttle (usually a hall-effect twist grip or foot pedal) tells the controller how much current to send.
That simplicity is the appeal. There is no clutch engagement point to tune and no pull-start to fight. Torque arrives immediately, which is why even a modest 1,000W kart feels lively off the line. The flip side is that every watt comes from the battery, so pack capacity — measured in volt-amp-hours — directly sets how long you drive before recharging. A typical 48V 20Ah pack holds roughly 1kWh, good for around 30 to 60 minutes of mixed backyard driving depending on motor size, terrain, and driver weight.
If you would rather electrify an existing gas kart than build from bare frame, that is a different project with different trade-offs — see our companion guide to go-kart electric conversion kits. This article assumes you are building from scratch or from a bare roller.
Types of Motors and Batteries
Brushed DC motors (500W–1,800W). The budget classic — think MY1020-style motors from scooters. Simple two-wire hookup, cheap controllers, easy to understand. They waste more energy as heat and the brushes wear, but for a first kids or teen kart they are hard to beat at $60 to $150.
Brushless (BLDC) motors (1kW–3kW+). The modern default for adult karts. More efficient, more power-dense, and essentially maintenance-free, but they need a matched controller and hall-sensor wiring. A 48V 2kW BLDC motor and controller combo runs $200 to $400 and moves an adult at 25 to 35 mph with sensible gearing.
SLA (sealed lead-acid) batteries. Cheap and tolerant of crude charging, but brutally heavy — a 48V 20Ah SLA set weighs around 60 lb and sags under load. Fine for a low-speed kids kart; frustrating on anything quick.
Lithium packs (LiFePO4 or Li-ion). Three to four times lighter per usable amp-hour, with flat voltage delivery so the kart stays fast as the pack drains. LiFePO4 is the safer, longer-lived chemistry for karts. Cost is the penalty: $250 to $600 for a 48V 20Ah pack with BMS.
Motor and Battery Options Compared
| Setup | Voltage | Speed potential | Best for | Component cost |
|---|---|---|---|---|
| 500–1,000W brushed + SLA | 24–36V | 10–18 mph | Kids karts, first builds | $200–$400 |
| 1,000–2,000W BLDC + SLA | 48V | 20–28 mph | Budget adult karts | $350–$600 |
| 2,000W BLDC + lithium | 48–60V | 25–35 mph | Serious backyard karts | $600–$1,000 |
| 3,000W+ BLDC + lithium | 60–72V | 35–45+ mph | Experienced builders, track use | $900–$1,500+ |
Cost and Considerations
A complete scratch build realistically lands between $400 and $1,500. The low end is a kids kart: salvaged or simple welded frame, 36V brushed motor, SLA batteries. The high end is an adult 48–60V lithium BLDC kart on a purpose-built chassis with hydraulic brakes. The battery is usually the single biggest line item on any lithium build, often a third of the whole budget. For context against buying options, see how much a go-kart costs.
Wiring basics are not optional knowledge. Use wire gauged for the controller current (10 AWG is a sensible minimum for 50A systems), crimp and heat-shrink every connection, and keep battery leads short. Wire in this order: motor to controller, throttle to controller, and battery last — through a main fuse and a keyed switch or breaker.
Safety hardware is cheap; skipping it is not. Every build needs a main fuse or breaker sized just above peak controller draw, a battery disconnect you can reach from the seat, and — on any lithium pack — a BMS (battery management system) that prevents over-charge, over-discharge, and cell imbalance. Never run raw lithium cells without a BMS, and charge lithium packs on a hard surface away from anything flammable.
How to Build It: Practical Tips
Start with the chassis and get it rolling first. A bare roller frame with steering, brakes, and a live axle is the same foundation as a gas kart — our full walkthrough on how to build a go-kart covers frame, steering, and brake construction that applies directly here.
Gear for torque, not top speed. A common starting ratio for a 48V 2kW motor is around 4:1 to 5:1 (for example, an 11-tooth motor sprocket to a 48–54 tooth axle sprocket with #35 chain). Taller gearing looks good on paper but overheats motors and controllers on grass and hills.
Mount batteries low and central, in a ventilated box, strapped so they cannot shift in a spin. Keep the controller in airflow and out of direct water spray. Then test in stages: wheels-off throttle check, low-speed rollout with the current limit turned down, and only then full power. For the bigger picture on platforms, components, and what commercial e-karts do, our complete guide to electric go-karts is the reference shelf.
Pros and Cons
Electric scratch builds reward planning and punish improvised wiring. Weigh both sides.
Pros
- Instant torque and smooth power with no clutch or carb tuning
- Quiet enough for neighborhoods where gas karts cause complaints
- Very low running costs and almost no drivetrain maintenance
- Easy to de-tune for kids by limiting controller current
Cons
- Lithium batteries are the most expensive single component
- Run time is limited to roughly 30 to 60 minutes per charge
- Wiring mistakes can destroy controllers or create fire risk
- Heavy SLA packs blunt performance on budget builds
Frequently Asked Questions
How much does a homemade electric go-kart cost?
What motor is best for a homemade electric go-kart?
Are SLA or lithium batteries better for a go-kart?
How fast will a 1,000W electric go-kart go?
Do I really need a BMS and fuse?
How long does the battery last per charge?
Final Thoughts
A homemade electric go kart is a genuinely achievable project: build a solid rolling chassis, pick a 48V brushless system sized to the driver, spend properly on a lithium pack with a BMS, and wire it with fuses and clean crimps. Do those four things and you get a fast, quiet machine that costs pennies to run. Start with the chassis fundamentals in our guide to how to build a go-kart, and if you have a gas kart in the garage already, consider the conversion kit route instead.