
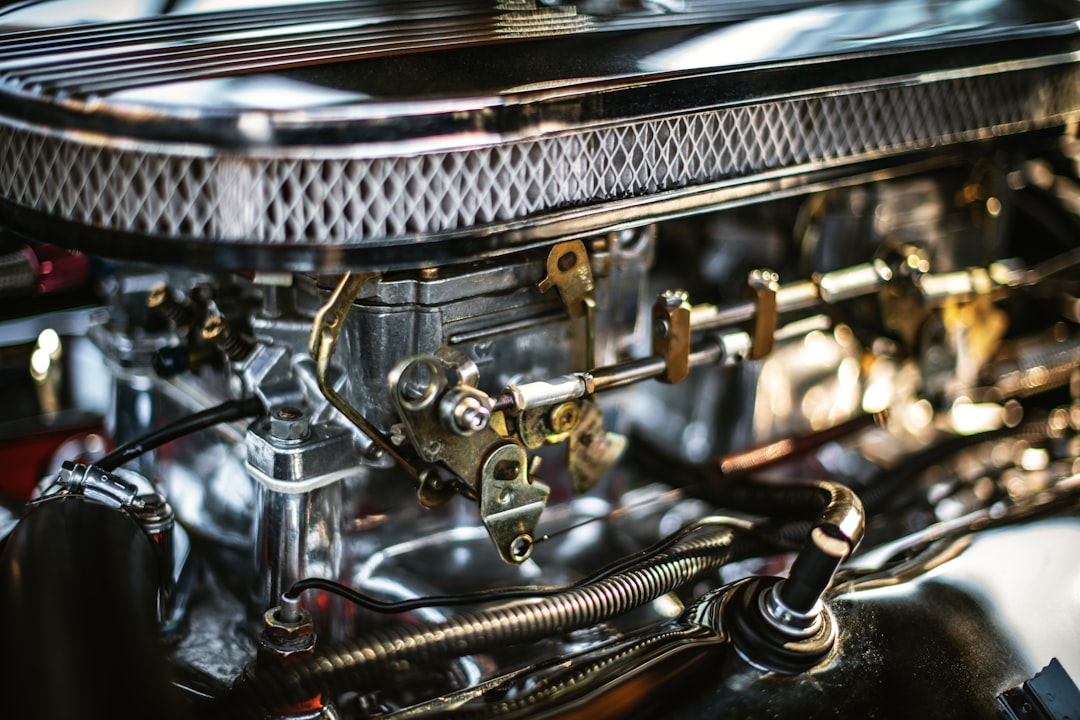
A predator 212 stage 2 kit is the sweet spot for anyone who wants a meaningfully faster go-kart without diving into full race builds. Where a Stage 1 setup wakes the engine up with breathing upgrades, Stage 2 adds a performance camshaft and valve springs so the 212 can rev higher and make real power. The result is a lively, torquey engine that still starts easily and runs on pump gas. This guide explains exactly what a Stage 2 kit includes, how the gains compare to Stage 1 and Stage 3, what it costs, how hard it is to install, and who should actually buy one.
What Is a Predator 212 Stage 2 Kit?
A predator 212 stage 2 kit is a bundle of parts that lets the engine breathe better and rev higher than stock. It builds on the Stage 1 breathing mods by adding a performance camshaft and stiffer valve springs, which are the parts that unlock the upper RPM range the stock cam and springs limit.
A typical kit includes an aftermarket carburetor (often a Mikuni-style unit), a performance air filter, an exhaust header, a performance camshaft, and heavier valve springs. Governor removal is assumed, because none of these gains matter while the engine is capped at 3,600 RPM. Together these parts move the power band up and add several horsepower over stock. For the platform basics first, see our Predator 212 engine guide.
Stage 2 Components and Options
Understanding each part helps you choose a kit or assemble your own. The camshaft is the headline part: a performance grind changes valve timing to make power higher in the rev range. The valve springs stop the valves from floating at those higher RPM, so they are non-negotiable with a hotter cam.
The carburetor supplies the extra fuel and air the engine now wants, with a Mikuni-style carb being the common choice. The header and air filter reduce restriction on both ends. Some kits add a billet flywheel for safer high-RPM operation and better timing.
Your main options are a pre-matched kit versus a pieced-together build. A kit guarantees the parts work together and simplifies buying, while building your own lets you tune the character. Either way, pair it with the right carburetor and a drive system that can handle the extra power.
Stage 1, 2, and 3 Compared
The table below compares the upgrade stages themselves, not specific products, so you can see where Stage 2 fits.
| Stage | Key Parts | Approx. Power | Cost | Difficulty |
|---|---|---|---|---|
| Stock | None (governed) | ~6.5 hp | – | – |
| Stage 1 | Carb, air filter, exhaust, governor removal | ~9-11 hp | $80-150 | Easy |
| Stage 2 | Adds cam and valve springs | ~11-14 hp | $150-300 | Moderate |
| Stage 3 | Adds head work, bigger valves, flywheel, higher RPM | 15+ hp | $300-600+ | Advanced |
Cost of a Predator 212 Stage 2 Kit
A complete predator 212 stage 2 kit typically runs $150 to $300 depending on the carburetor and cam included. Budget kits sit at the lower end with a basic carb, while kits with a quality Mikuni-style carb, a billet flywheel, and a name-brand cam reach the top of that range.
Remember the hidden costs. Once the engine makes 11 to 14 hp, the stock clutch, chain, and brakes are working near their limits, so a stronger clutch kit or torque converter and better brakes belong in the budget. For how these numbers fit a whole build, see how much a go-kart costs. Spend on the drivetrain to match the engine, not just the engine itself.
How to Choose and Install
Choose Stage 2 if Stage 1 has left you wanting more top end and you are comfortable working inside the engine. The install is a step up from bolt-on parts because fitting the cam means opening the crankcase side cover, degreeing or aligning the timing marks, and swapping valve springs with the head accessible.
It is a solid weekend job for a mechanically confident builder, but not a first-ever project. Take your time with cam timing and torque specs, prime the engine with oil, and set the valve lash correctly. If you would rather stay bolt-on, a Stage 1 setup plus a good carb gets you most of the everyday feel with less work. Match the finished power to your clutch, brakes, and chain before you ride.
Pros and Cons
Stage 2 is the best bang-for-buck power tier for many builders, with a few caveats.
Pros
- Strong, noticeable power gain over Stage 1
- Still reliable and pump-gas friendly when tuned right
- Great value for the performance it delivers
- Opens the door to further Stage 3 upgrades later
Cons
- Cam install requires opening the engine, not just bolt-ons
- Needs governor removed and often a billet flywheel for safe RPM
- Forces clutch, brake, and chain upgrades to match
- Slightly noisier and less docile than stock
Frequently Asked Questions
What does a Stage 2 kit add over Stage 1?
How much horsepower does a Stage 2 Predator 212 make?
Is a Stage 2 kit hard to install?
Do I need a billet flywheel for Stage 2?
Will Stage 2 hurt reliability?
Who should buy a Stage 2 kit?
Final Thoughts
A predator 212 stage 2 kit hits the value sweet spot: roughly double the stock power, still reliable, and reasonable to install for a confident builder. Remove the governor, add a billet flywheel for safe RPM, and upgrade your clutch and brakes to match the new output. When you are ready to plan the whole build, use our how to build a go-kart guide and the best 212 upgrades roundup to prioritize your spending.